If you’ve worked on a Shopify app before, chances are you’ve used tunneling for local development. Historically, Shopify has been recommending ngrok across their docs and it’s still the go-to tool for most developers.
I’ve been using paid version of ngrok mainly in order to configure custom URLs for my tunnels to keep my configuration consistent. Using the following config, I’d route traffic to my web server and webpack dev server.
authtoken: <token>
tunnels:
  robin-pro:
    proto: http
    addr: 3000
    subdomain: robin-pro
    bind_tls: true
  robin-pro-wds:
    proto: http
    addr: 3035
    subdomain: robin-pro-wds
    bind_tls: true
    host-header: localhost:3035
With the launch of Cloudflare Tunnel, you no longer need to pay to configure custom domains. I’ve been using it for a few months now and the DX has been excellent. This post shows you how to use it when developing your own Shopify apps.
I’ll be using my Ruby on Rails app as an example in this article but, clearly, you’ll be able to use Cloudflare Tunnel with any tech stack.
My app is currently using
webpacker. I’ll update this article as I migrate to Vite and start using Shopify CLI together with app extensions.
Setting up Cloudflare Tunnel
Note that while it’s possible to run quick tunnels without your own domain, I’ll assume you have a domain set up in Cloudflare dashboard. The config is simple, you can learn more about it here.
The first thing we’ll do is install cloudflared – a CLI tool we’ll use to run and configure our tunnel.
brew install cloudflare/cloudflare/cloudflared
Then we’ll need to authenticate the client to continue configuring our tunnel:
cloudflared tunnel login
This will open your browser, listing your available domains:
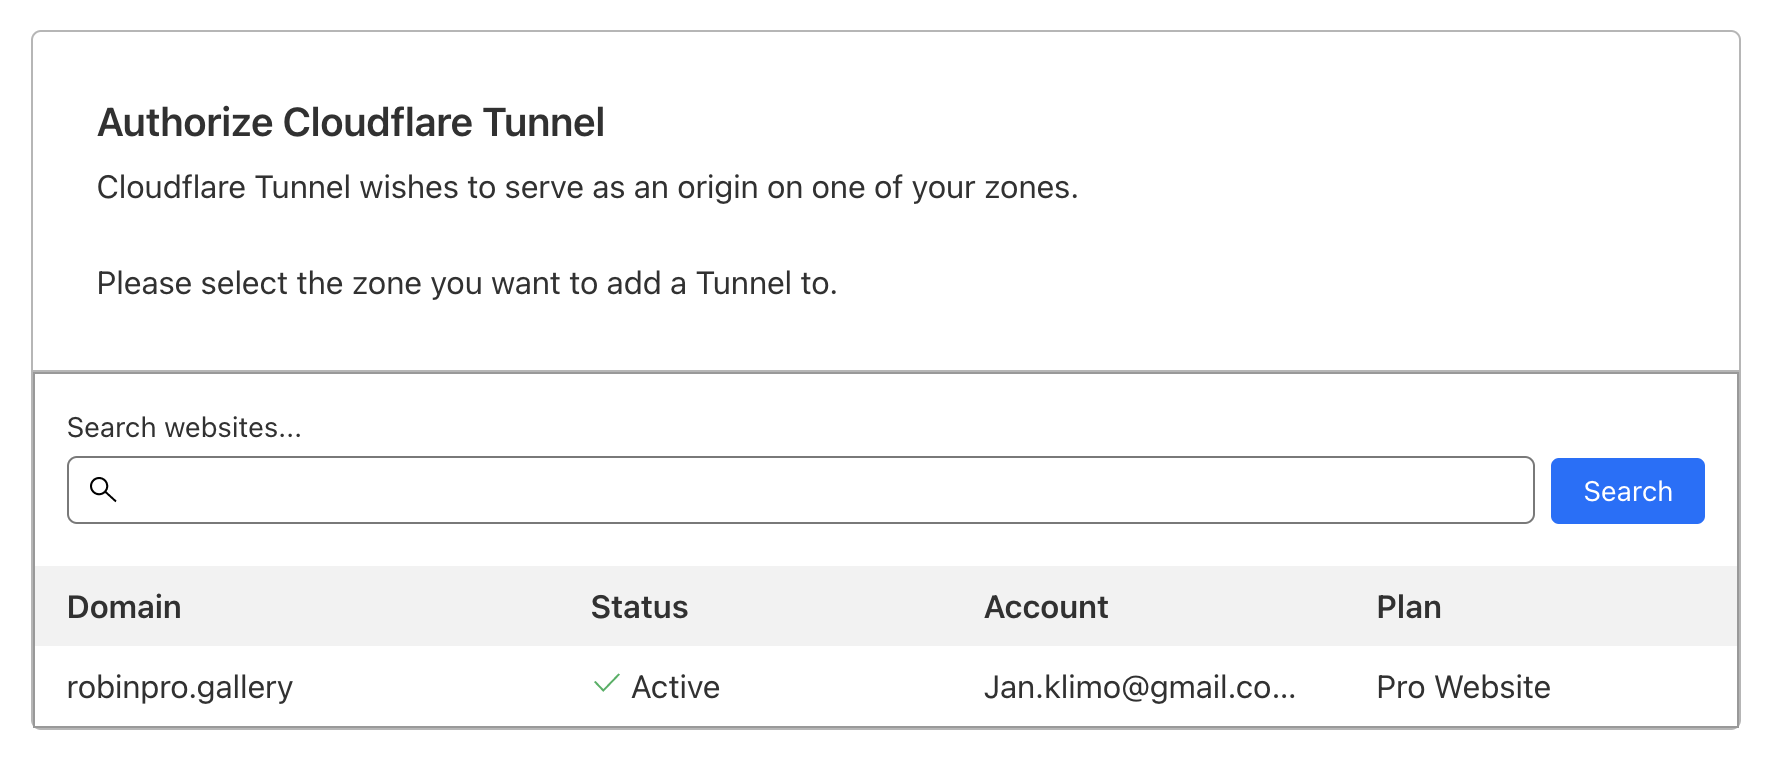
I’ll be working with robinpro.gallery so I’ll click on that. Select the one you’ll be using for your tunnel.
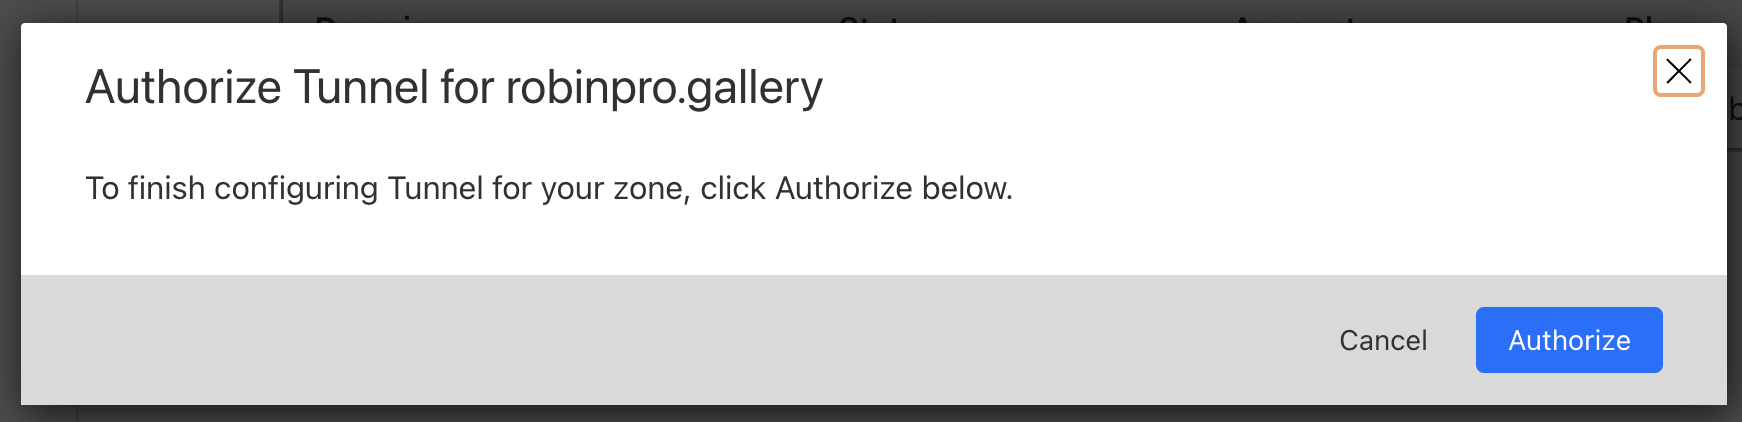
Click Authorize and you should see a confirmation if everything went well.
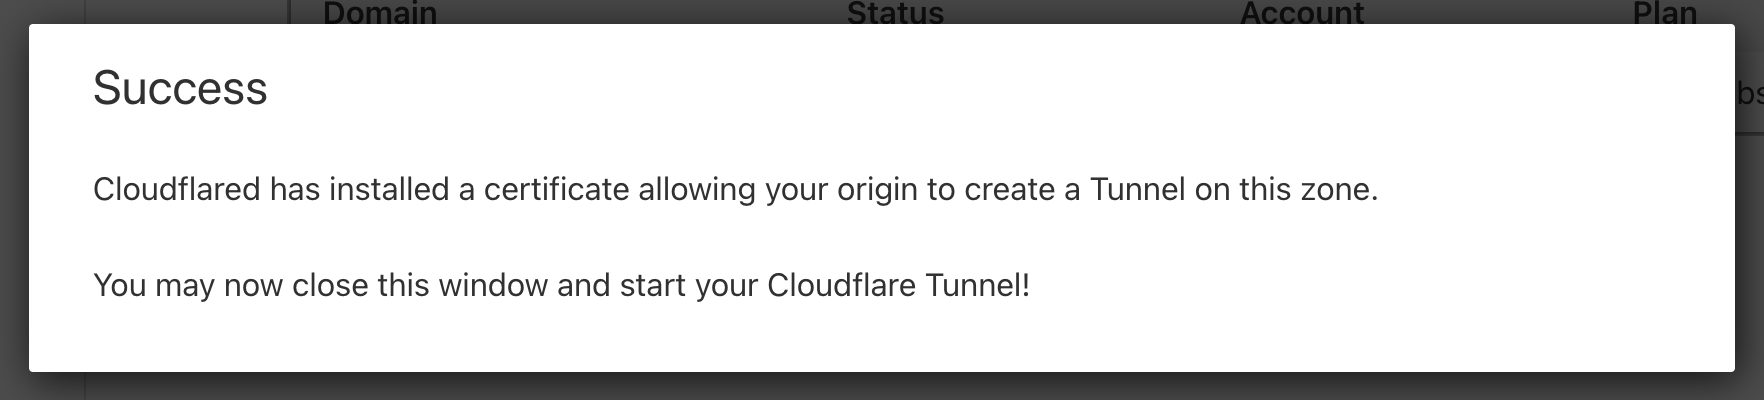
This will copy the issued certificate to your machine, which would be ~/.cloudflared/cert.pem by default,
letting you use cloudflared to communicate with Cloudflare. Try running the following as a test:
cloudflared tunnel list
It won’t return any tunnels for now. Let’s create one. We’ll call it demo:
cloudflared tunnel create demo
This creates the tunnel and saves configuration JSON file in your local ~/.cloudflared directory.
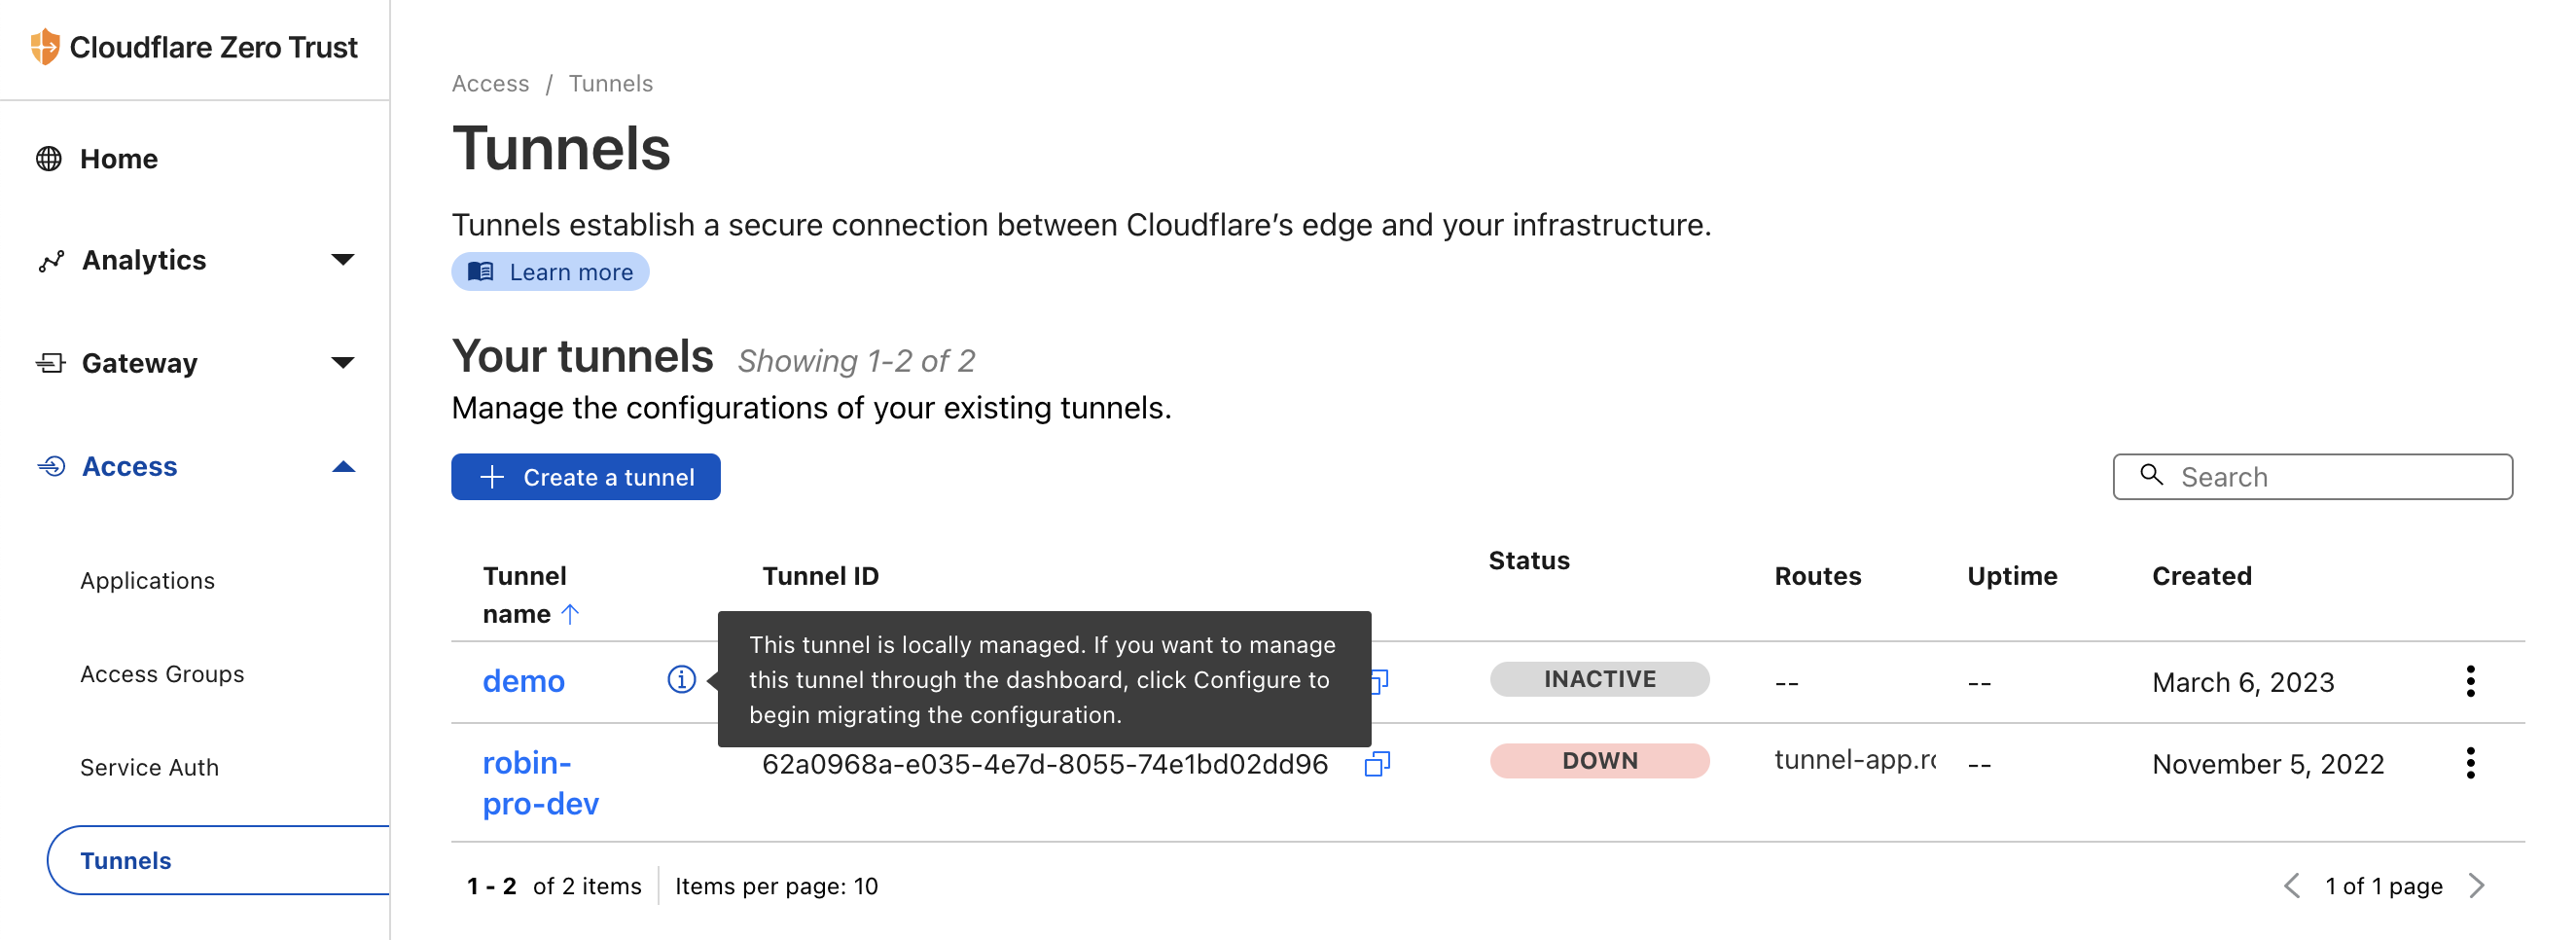
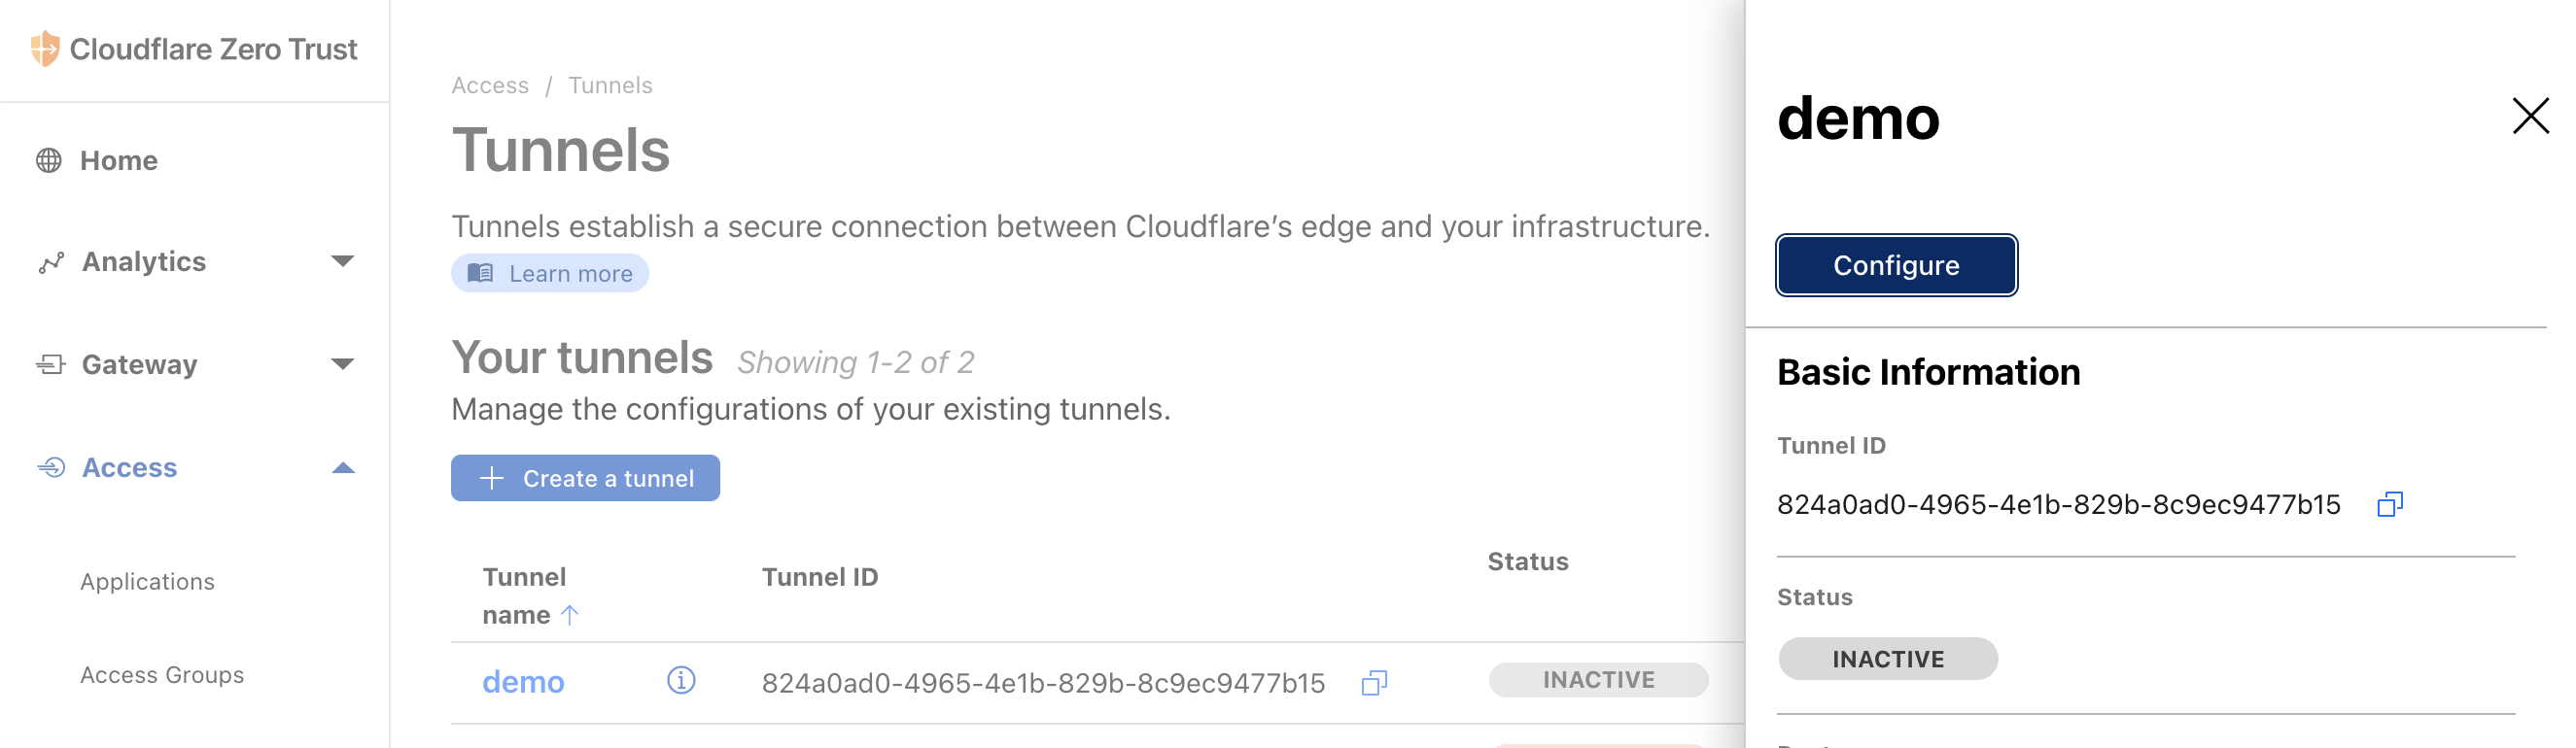
If you open your Zero Trust dashboard, you will see the tunnel listed as Inactive. You’ll also see a little hint telling you the tunnel is locally managed.
We can easily migrate the newly-created tunnel to be managed by the Zero Trust dashboard. This makes the process more visual and easier to understand so I’ll use this approach, rather than going back to the CLI.
Click on the tunnel name, click Configure.
You’ll see the following screen. No need to worry about the warnings since this is a brand new tunnel without any preconfigured ingress rules.
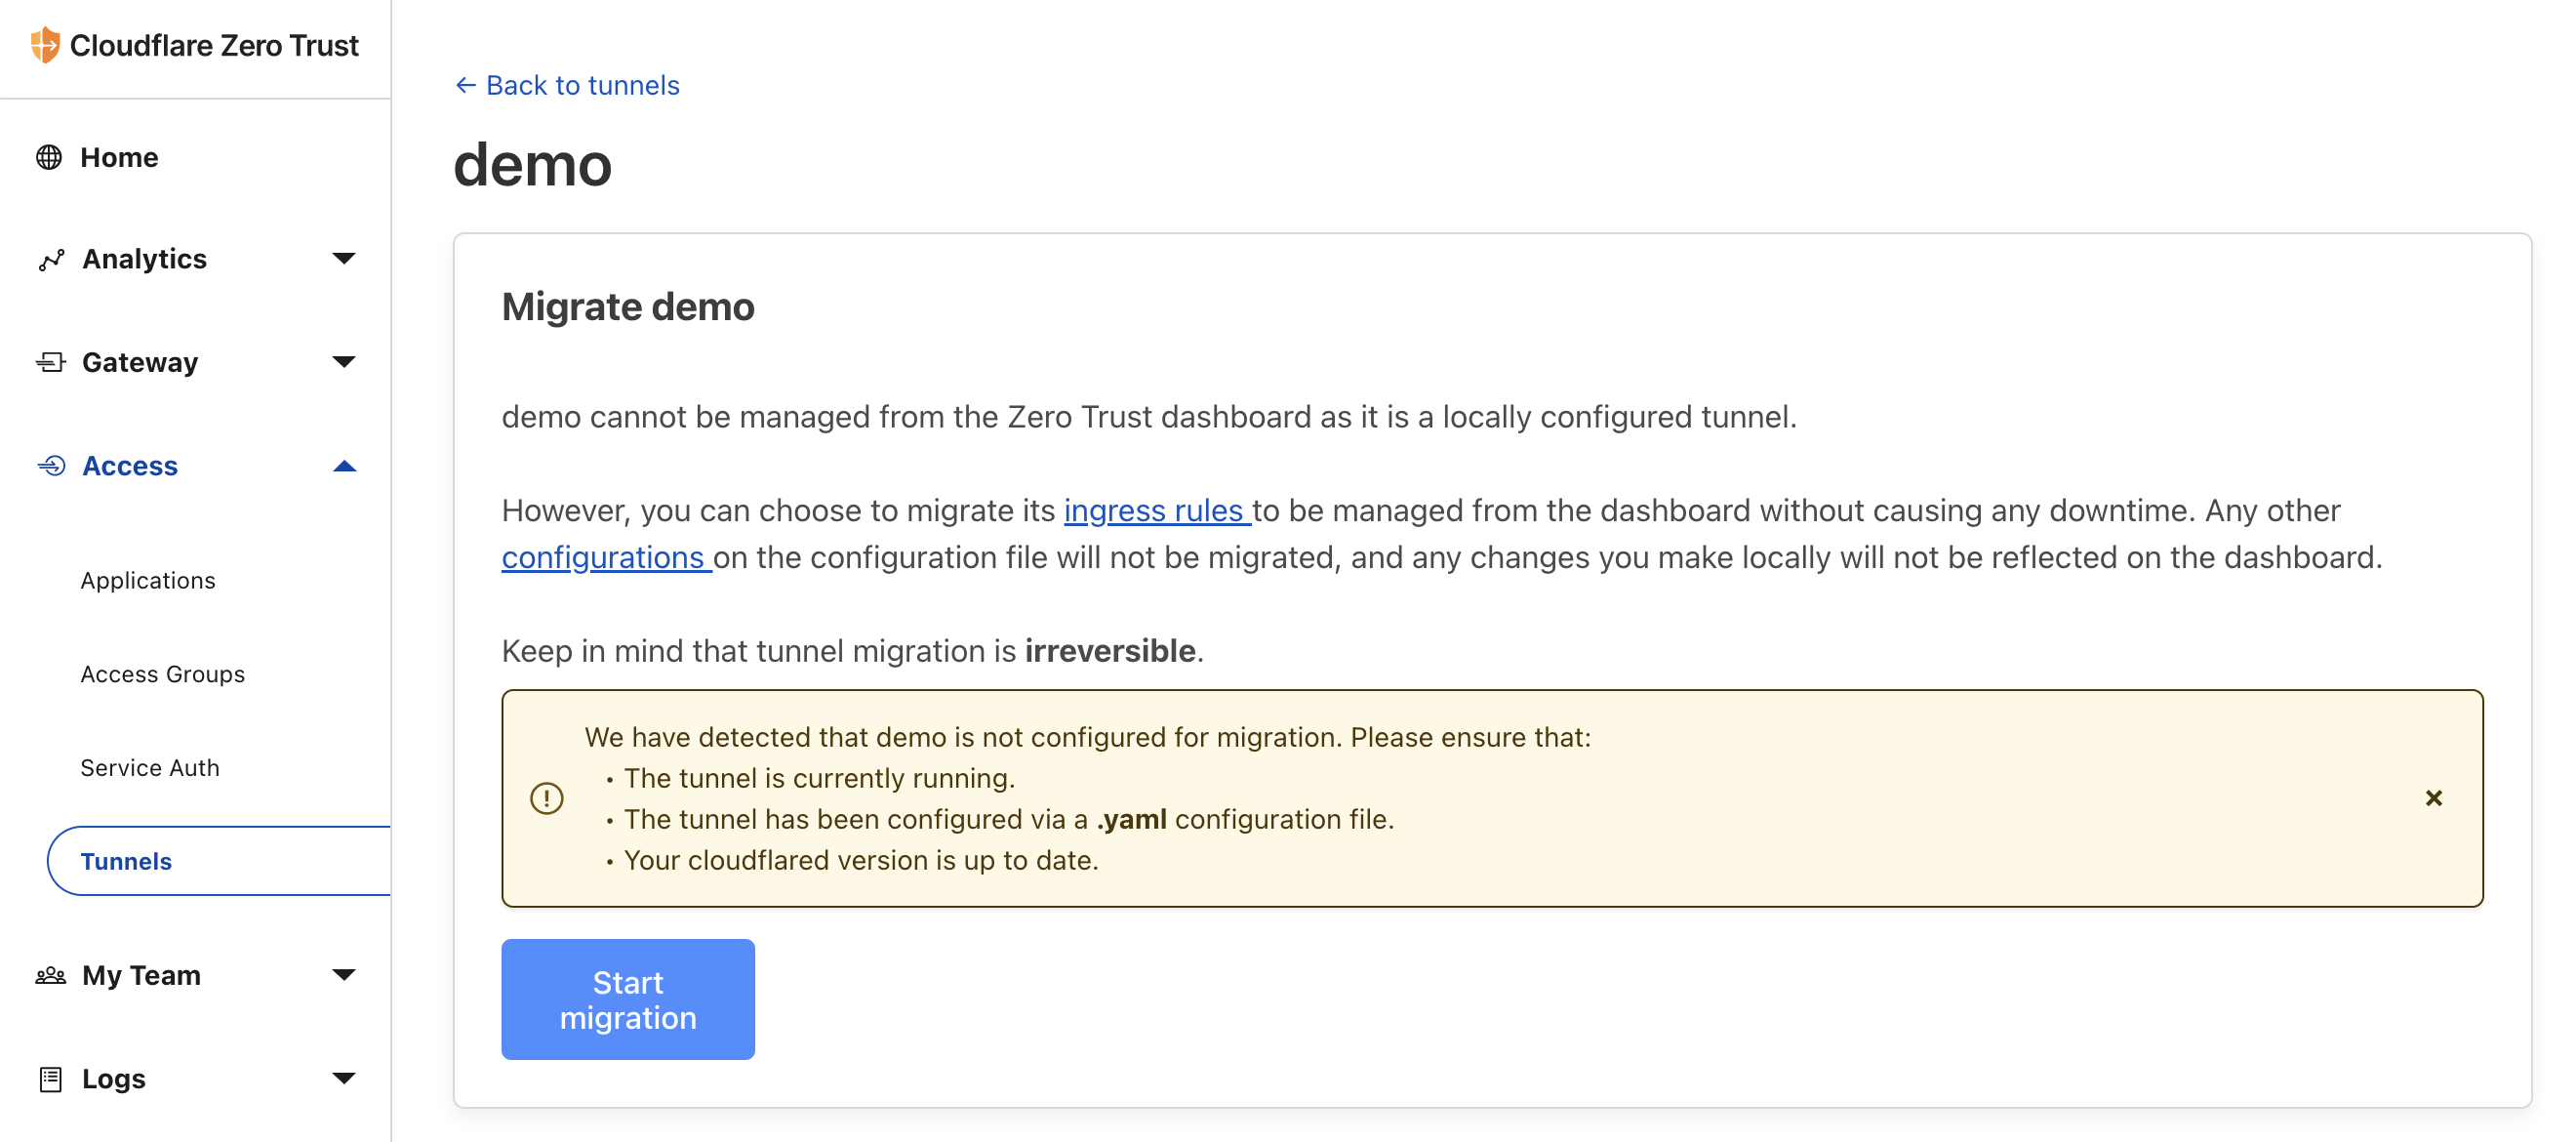
The only thing we need to do is run the tunnel, as requested above.
cloudflared tunnel run demo
This will enable the Start migration button. You can click it now.
You can hit confirm on all 4 confirmation steps without any changes and finally click Migrate tunnel.
Our new tunnel should now show up as Healthy. Looking good!

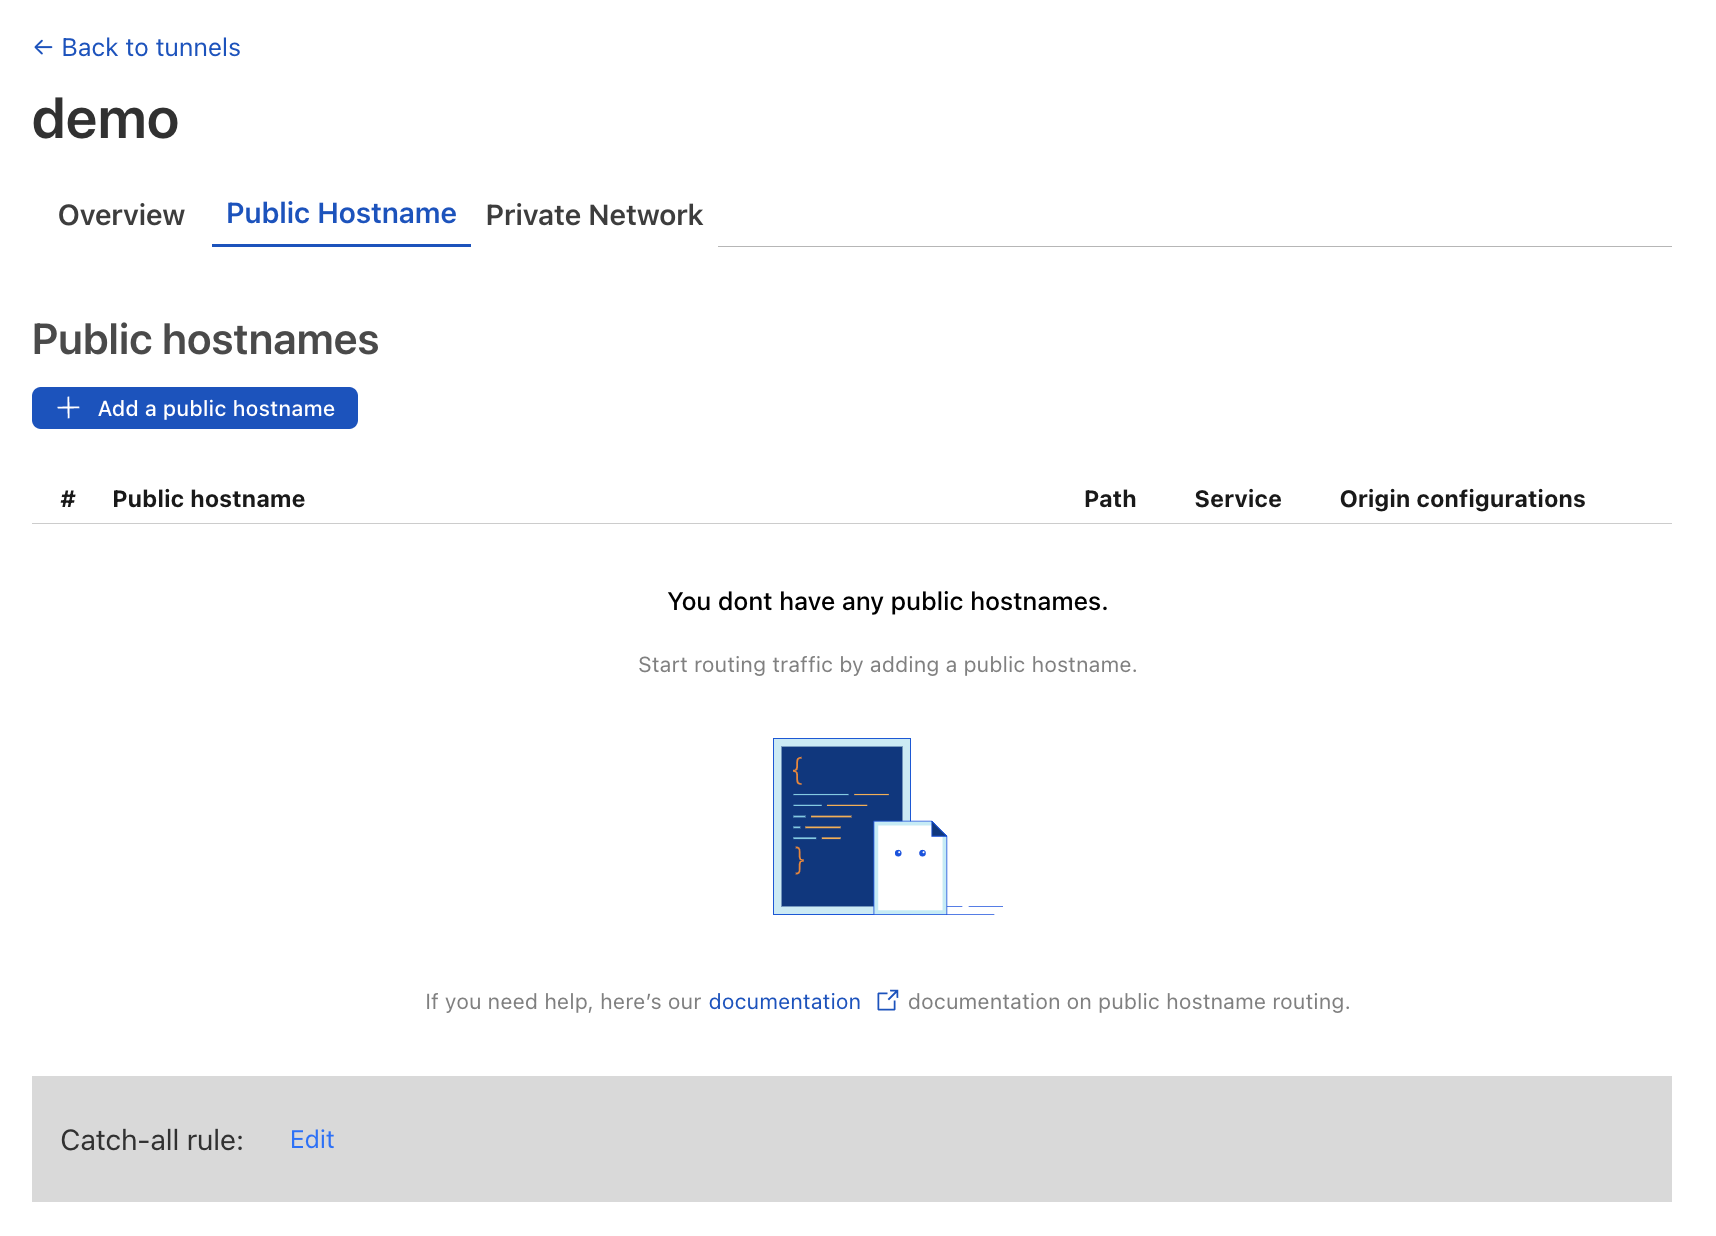
Public hostnames
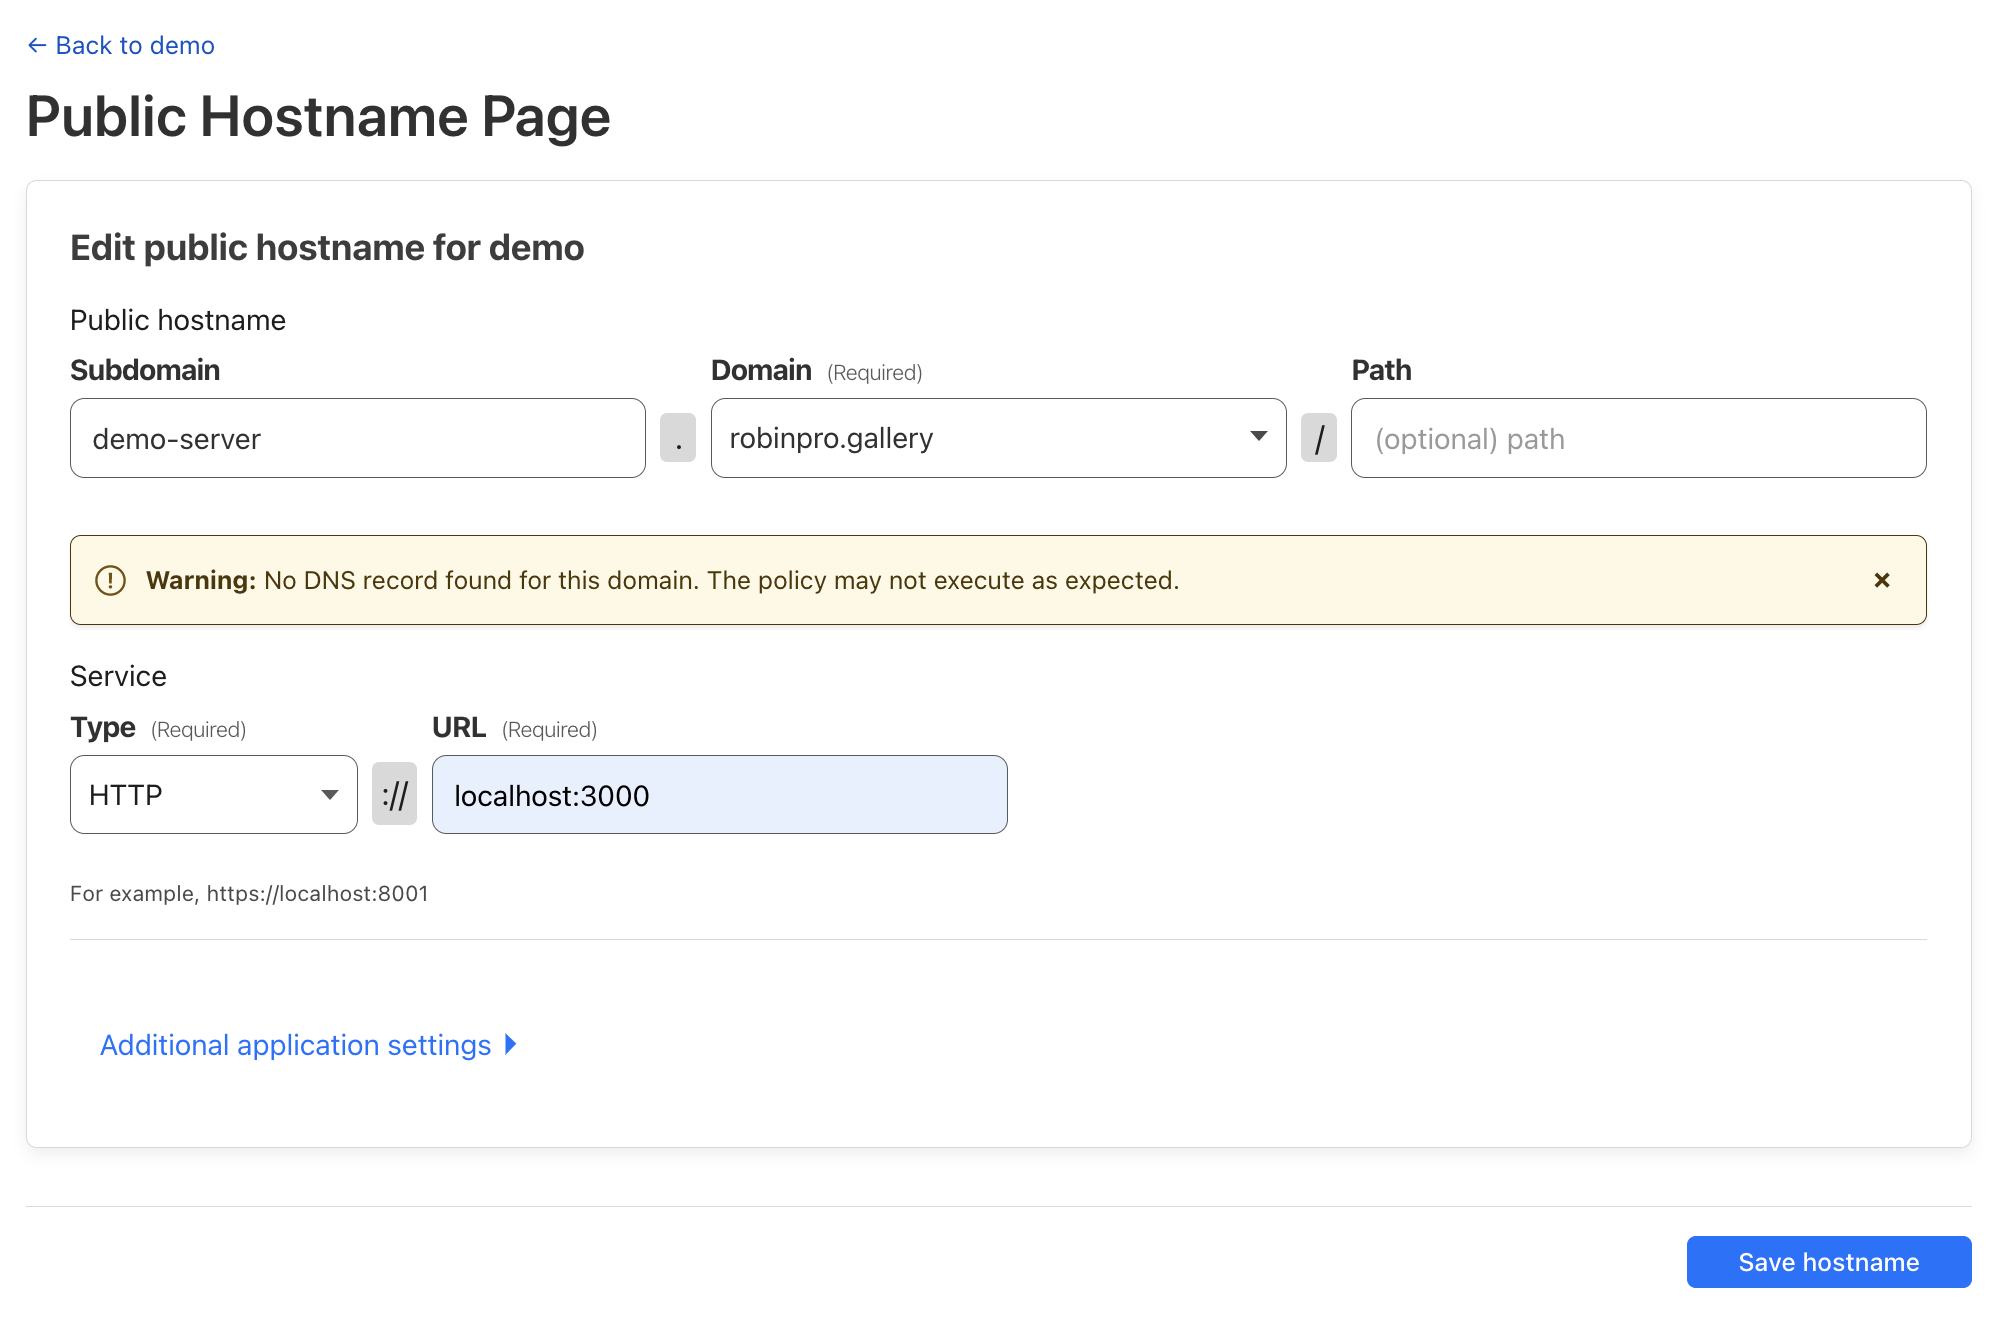
Click on the tunnel name to enter configuration. Under the Public Hostname we’ll click Add a public hostname. Public hostnames will be public URLs we can use to forward traffic to our local machine.
Just like you can see in my old ngrok config above, I’ll be adding two public hostnames. One for my Rails web server:
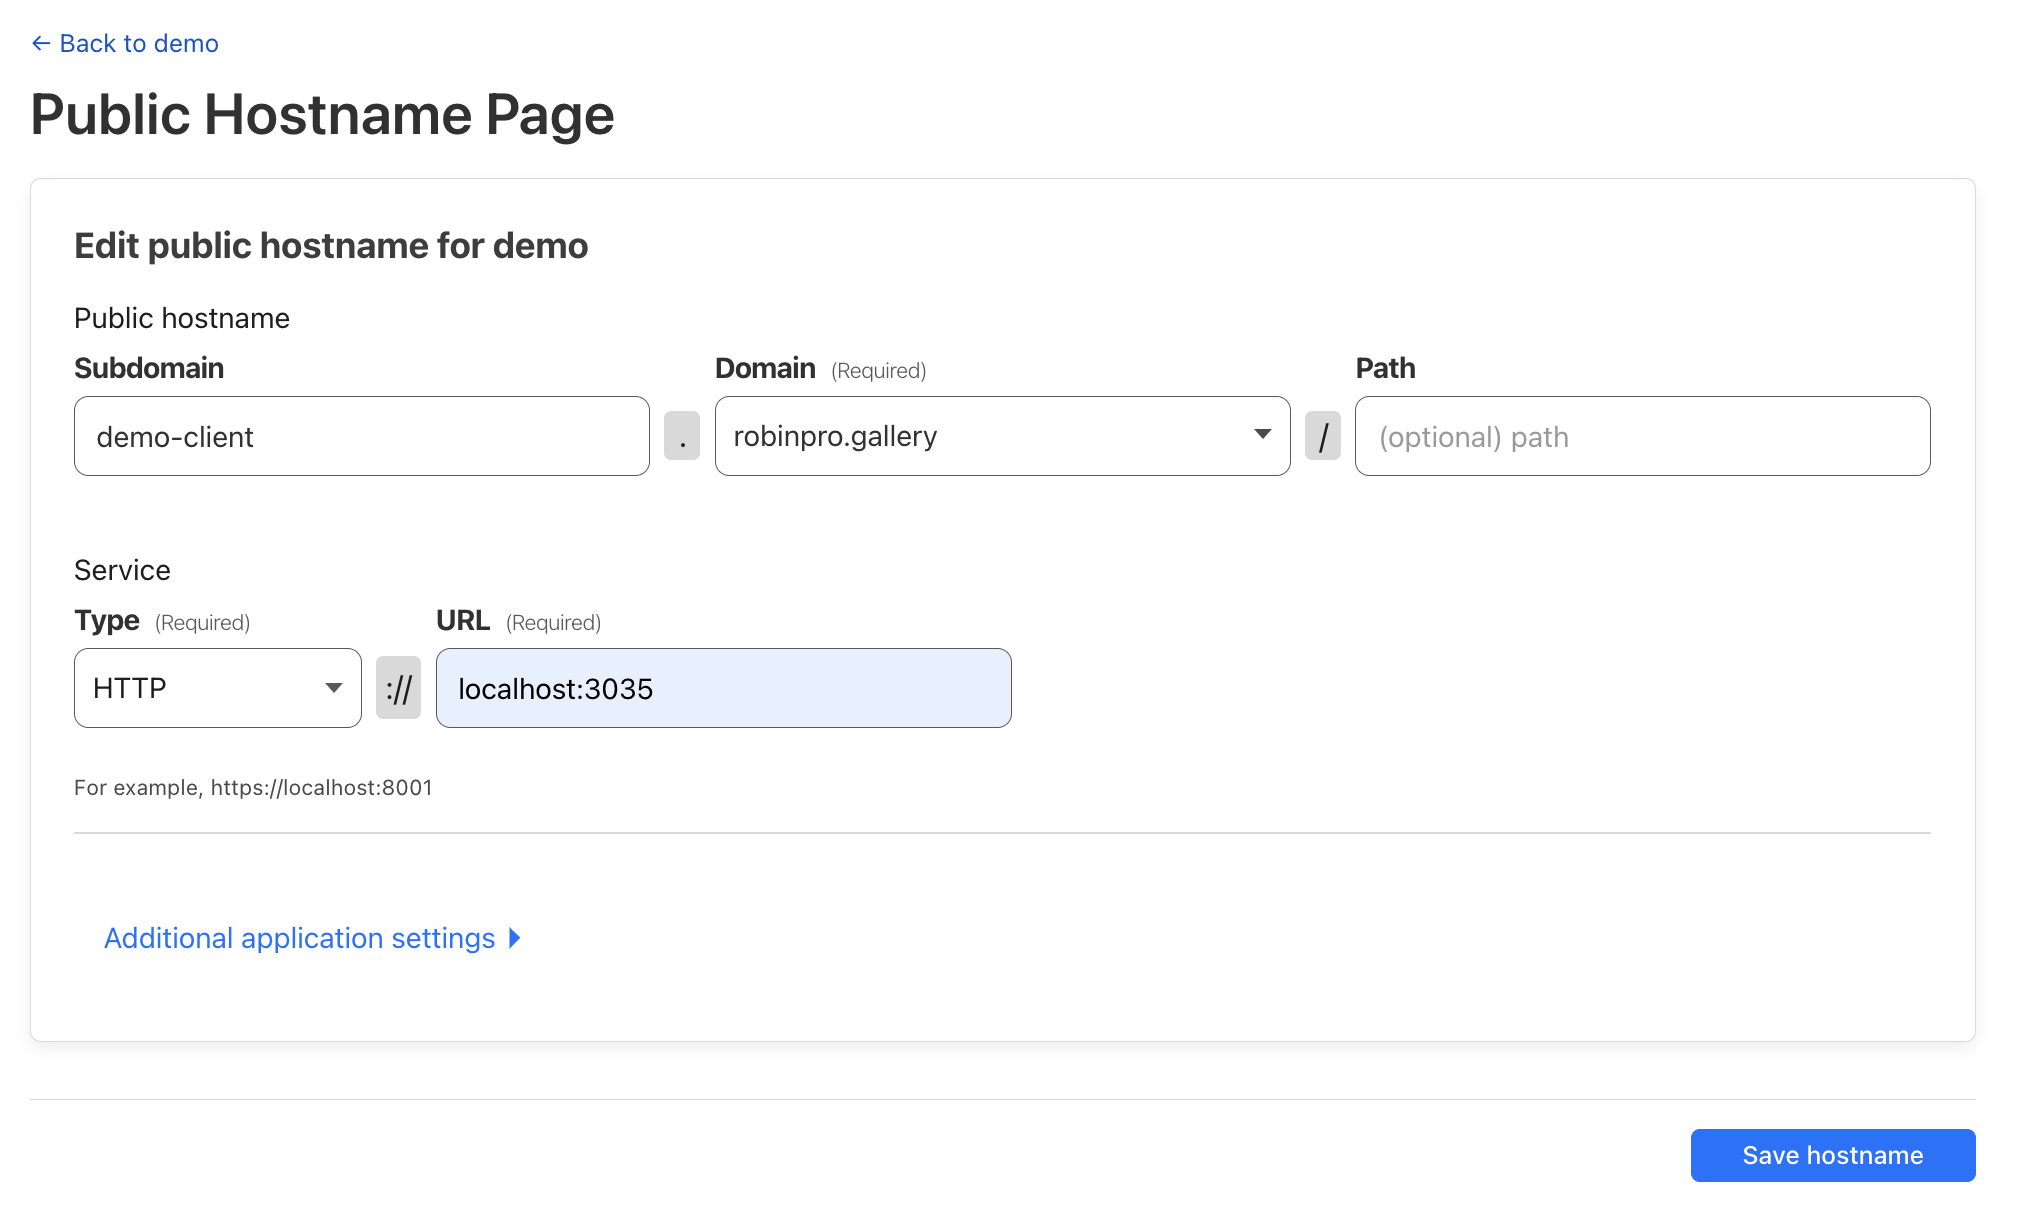
And another one for my Webpack dev server to facilitate HMR:
If you go back to your Cloudflare dashboard and check your domain’s DNS records, you will see these two were added automatically to make tunneling possible:

At the time of writing, these records are not being removed when the tunnel is deleted so you’ll need to remove them manually should you decide to delete a tunnel and clean all associated records.
Our tunnel configuration is ready! We’ll need to update a few other things before we can start local development.
App setup
We’ll need to update webpacker.yml config to point to the new public hostname we’ve
created above:
development:
  <<: *default

  dev_server:
    https: false
    host: localhost
    port: 3035
    public: demo-client.robinpro.gallery
    hmr: true
You’ll also need to add the public hostname of your web server to your hosts
config in development.rb:
config.hosts << 'demo-server.robinpro.gallery'
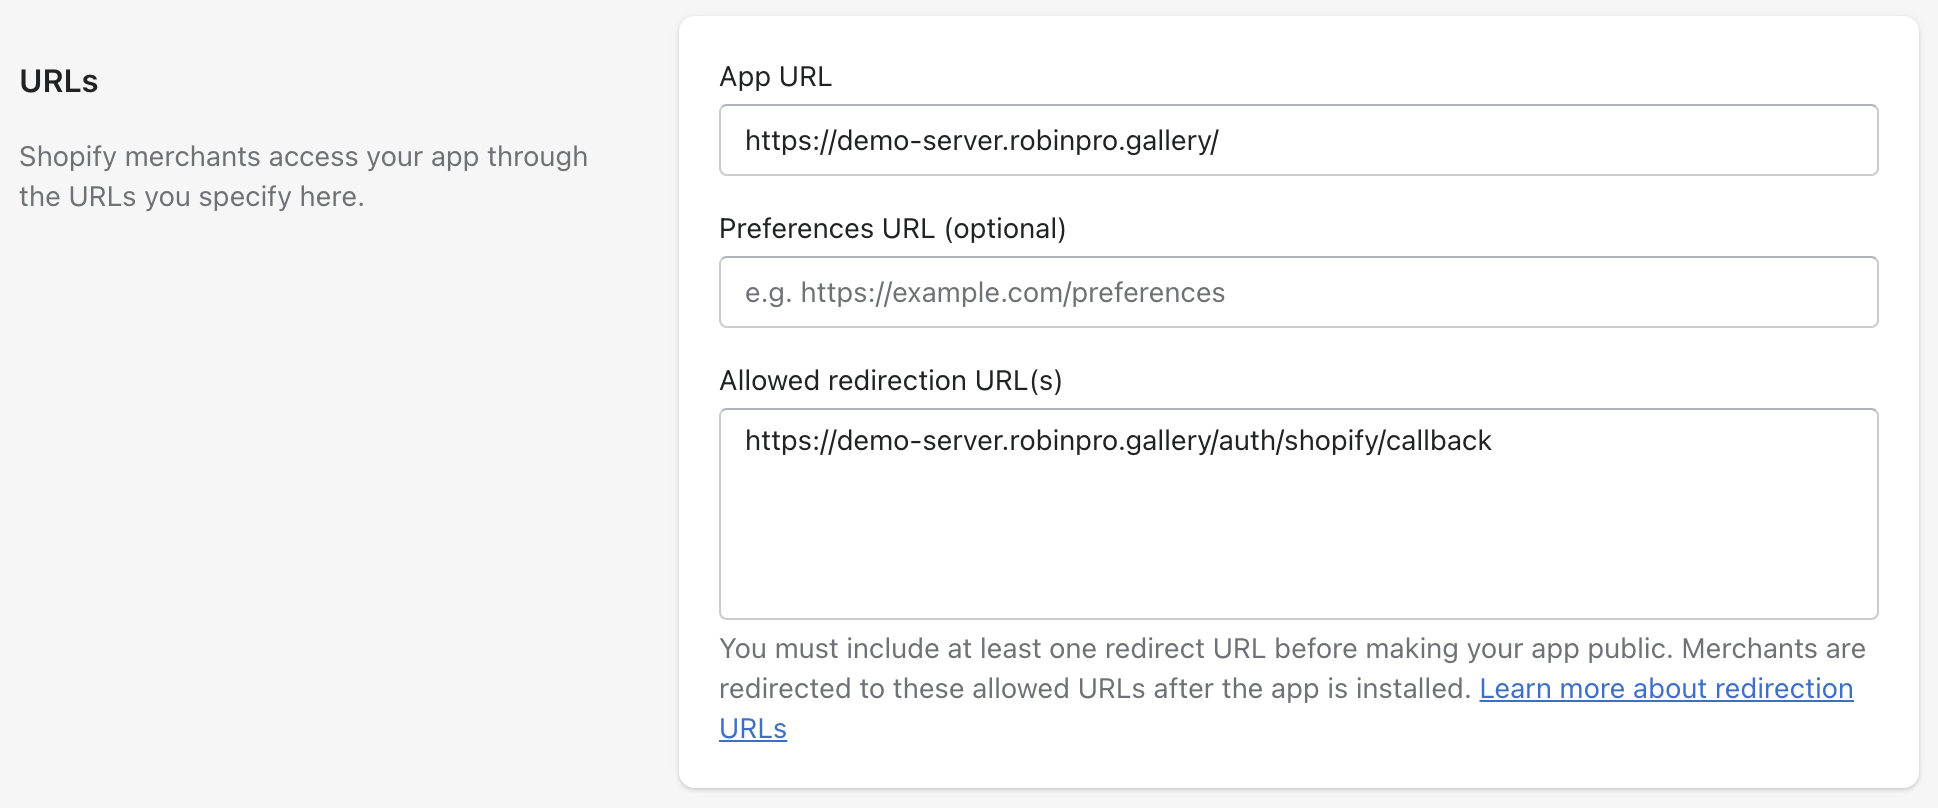
Shopify app setup
Under your Shopify Partners dashboard, configure your development app to use the new public hostname:
S3 setup
If you’re using S3 or other remote storage, you’ll need to update its CORS configuration. Here’s my S3 config:
[
  {
    "AllowedHeaders": [
      "Authorization",
      "x-amz-date",
      "x-amz-content-sha256",
      "content-type"
    ],
    "AllowedMethods": ["GET", "POST", "PUT"],
    "AllowedOrigins": ["https://demo-server.robinpro.gallery"],
    "ExposeHeaders": ["ETag"],
    "MaxAgeSeconds": 3000
  },
  {
    "AllowedHeaders": [],
    "AllowedMethods": ["GET"],
    "AllowedOrigins": ["*"],
    "ExposeHeaders": [],
    "MaxAgeSeconds": 3000
  }
]
And that’s it! Now as long as you have your app running locally, all you need to do is run:
cloudflared tunnel run demo
Happy building!